A photo wall can be the most personal thing in a house, or the messiest. The difference is almost never the photos. It's the frames, the gaps and the shape.
Here's how to make one that holds together, with four layouts to copy.
The three rules
Every calm photo wall follows these:
- Same frames, same mats. Thin black frames with white mats, or all oak. The frames are what make different photos look like a set.
- Black and white photos if you're mixing family pictures with landscapes. It pulls very different photos together instantly.
- Even gaps. About 2 inches between every frame. This matters more than anything else.
Above the sofa
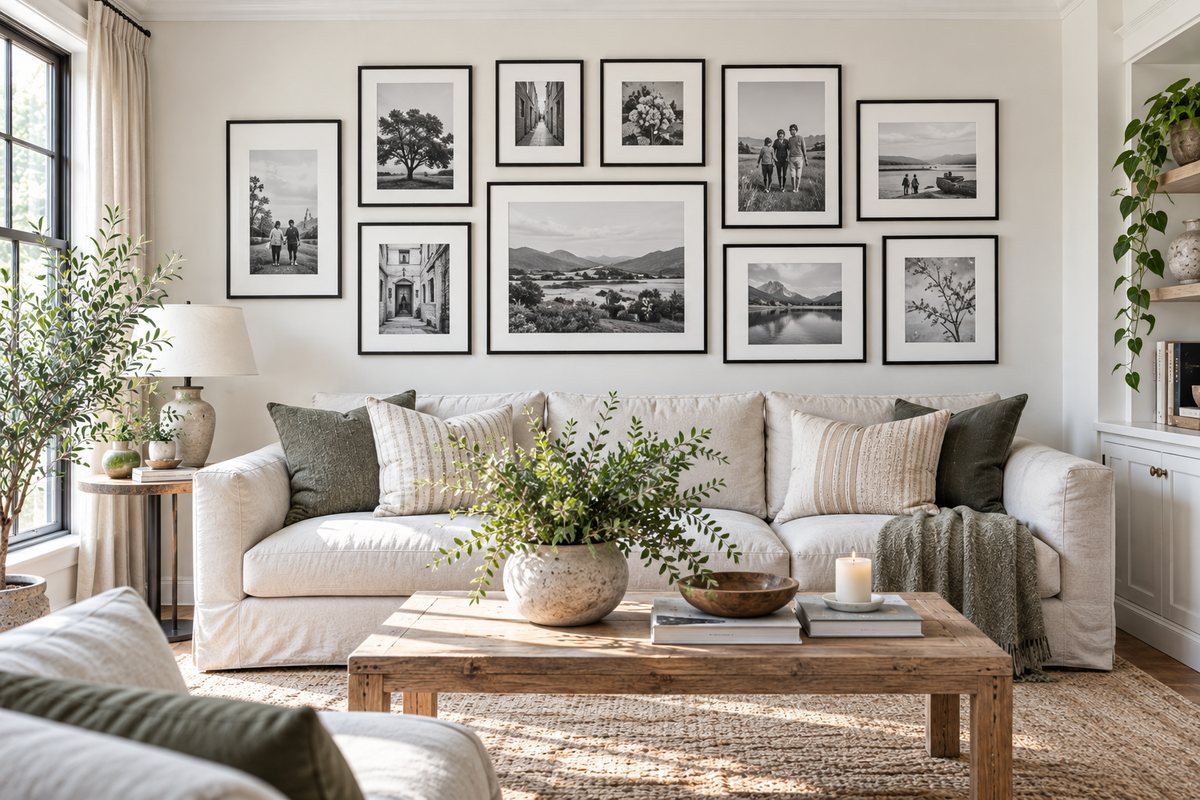
The wall at the top of this post has nine frames in different sizes above a sofa. It works because:
- The outer edge makes a clear rectangle, even though the frames inside vary.
- The biggest frame sits in the middle, slightly low, as an anchor.
- The whole group is about two thirds the width of the sofa.
- The bottom edge sits 8 to 10 inches above the sofa back.
Mix people, places and one or two details, like a tree or flowers, so it doesn't feel like a family album.
A 3x3 grid in the hallway
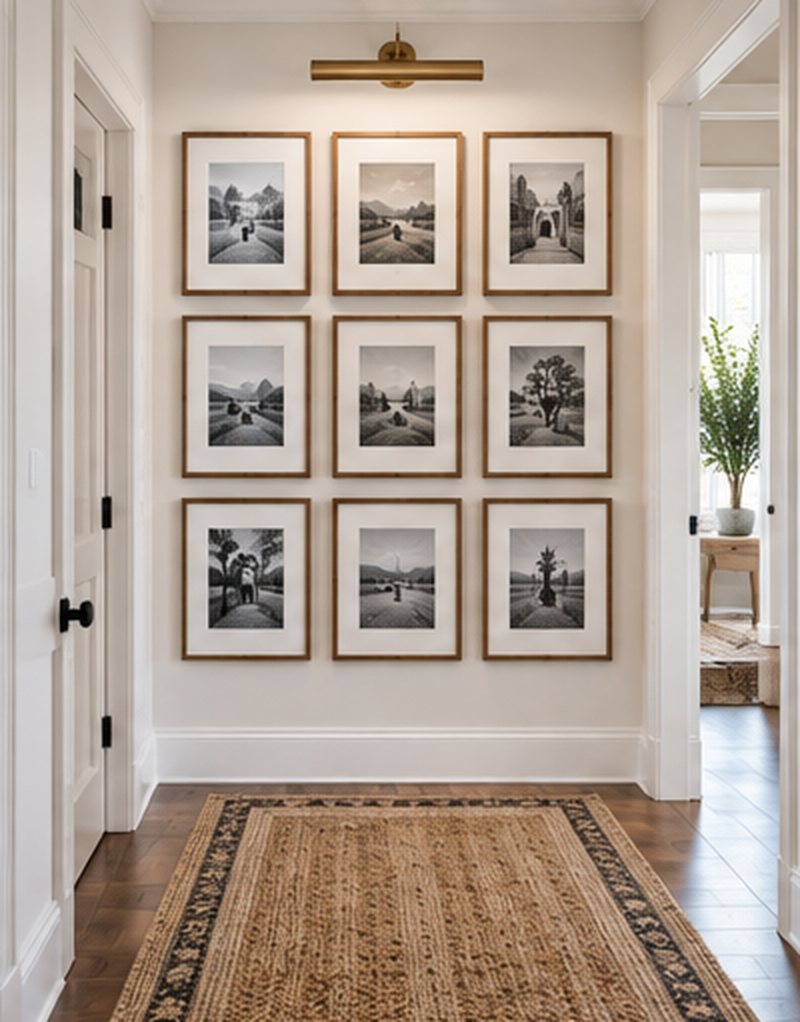
Hallways are narrow, so you see the wall up close. A strict grid looks neat from every angle.
- Nine identical frames in the same size.
- Exactly the same gap horizontally and vertically.
- A brass picture light centered above the grid.
- Center the grid at about eye level, roughly 57 to 60 inches from the floor.
A grid also makes it easy to swap photos without rearranging anything.
Mixing portraits and landscapes
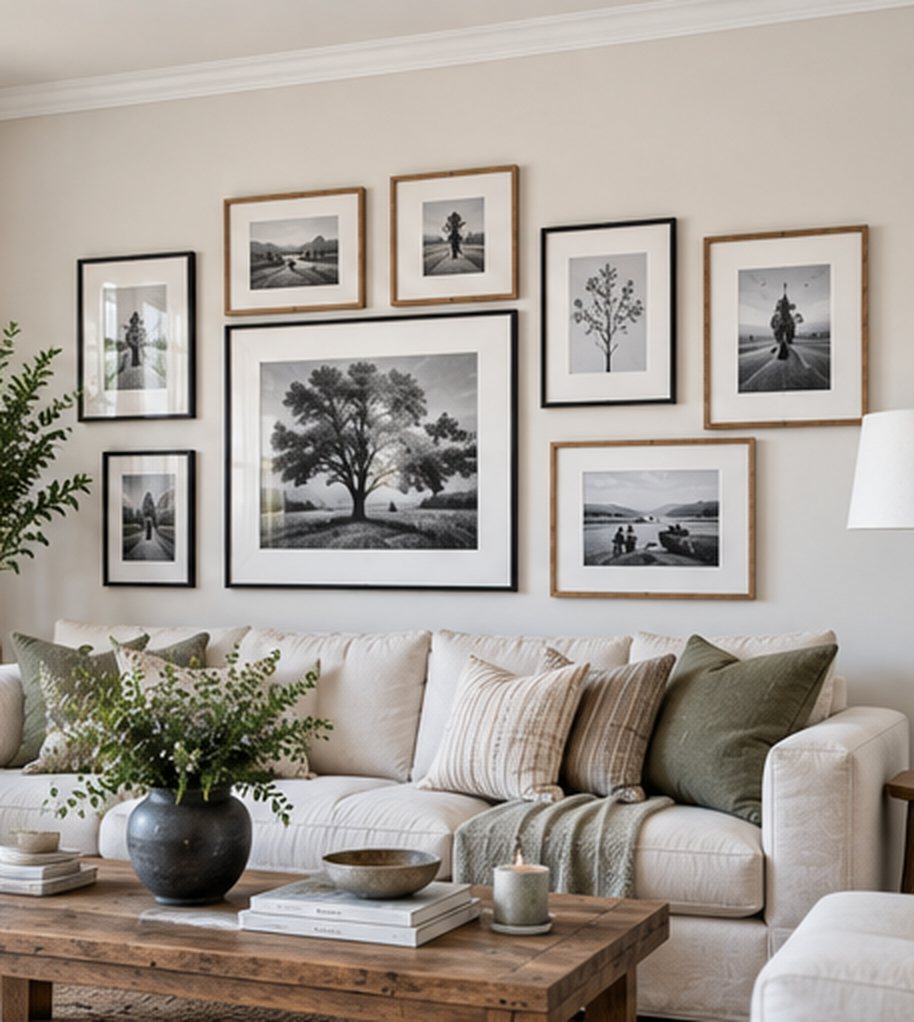
Most photo collections are a mix of tall and wide pictures. To make them sit together:
- Choose one large frame as the center.
- Line everything up on a center line, so the middle of each frame sits on the same horizontal line, or keep the outer edges flush.
- Mix black and oak frames if you like, but keep the white mats the same.
Above the bed
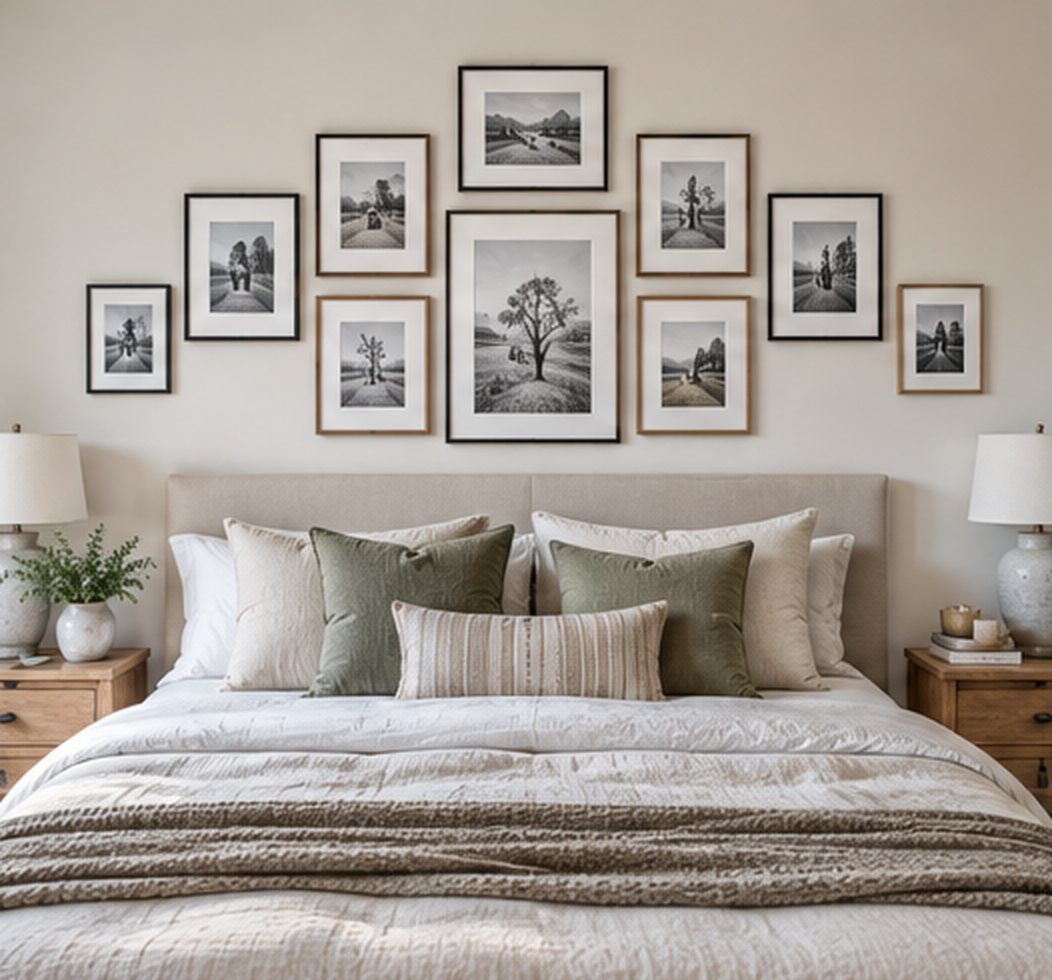
Bedrooms suit symmetry. Build it out from the center:
- One large frame in the middle, centered on the bed.
- Matching pairs on each side, mirrored.
- Keep it narrower than the headboard or roughly the same width.
- Use light frames and hooks you trust, and never hang heavy glass frames directly over where you sleep.
Plan it on paper first
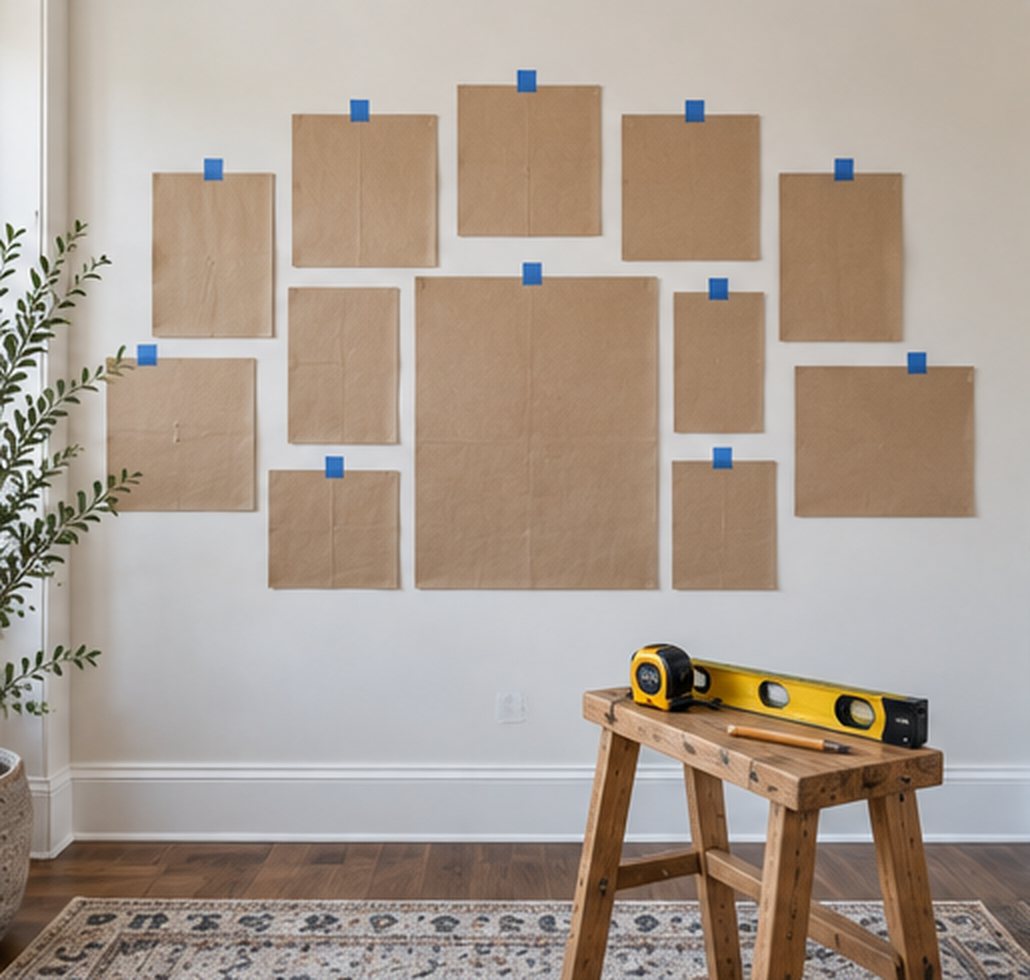
This one step saves a wall full of holes:
- Trace each frame onto brown paper and cut it out.
- Mark where the hanging hook sits on each template.
- Tape them to the wall with painter's tape and move them around for a day or two.
- Drill straight through the paper at the marks, then tear it away.
Use a spirit level on every frame, and a tape measure to keep the gaps identical.
Spacing up close
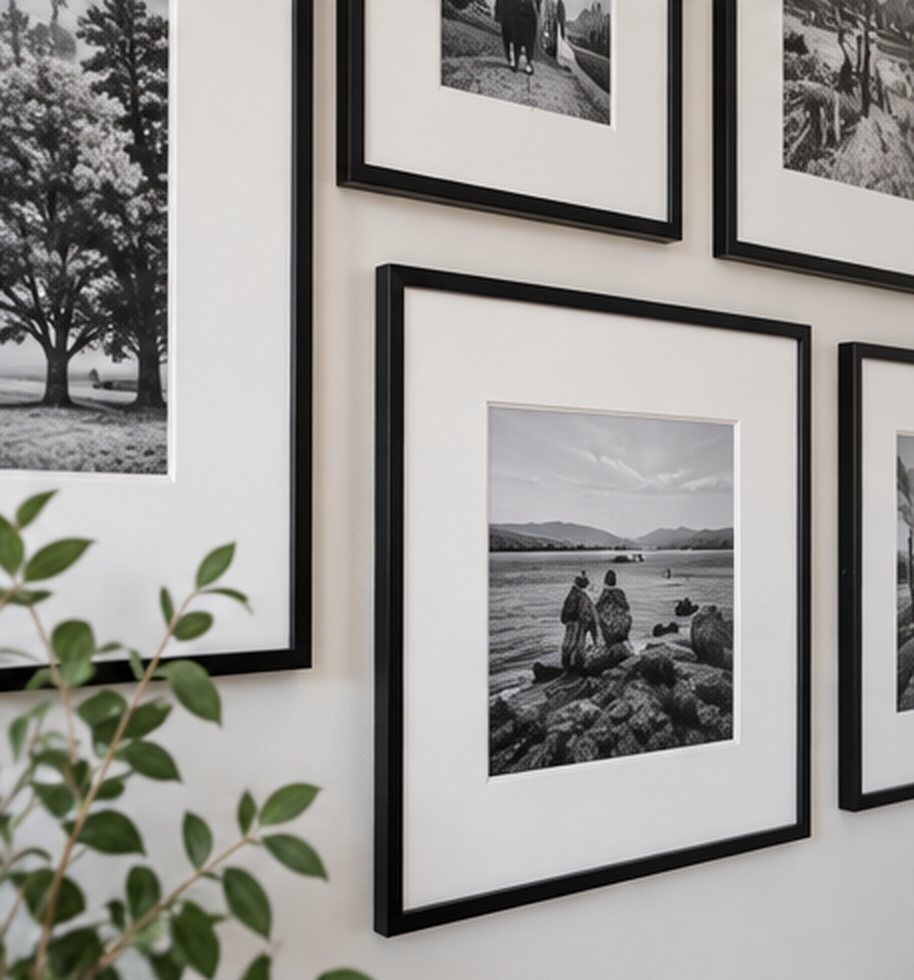
- Wide white mats make even a phone photo look like art.
- 2 inches between frames for most walls. Go to 3 inches for very large frames.
- Print photos in black and white at a proper photo lab. The quality difference is obvious once framed.
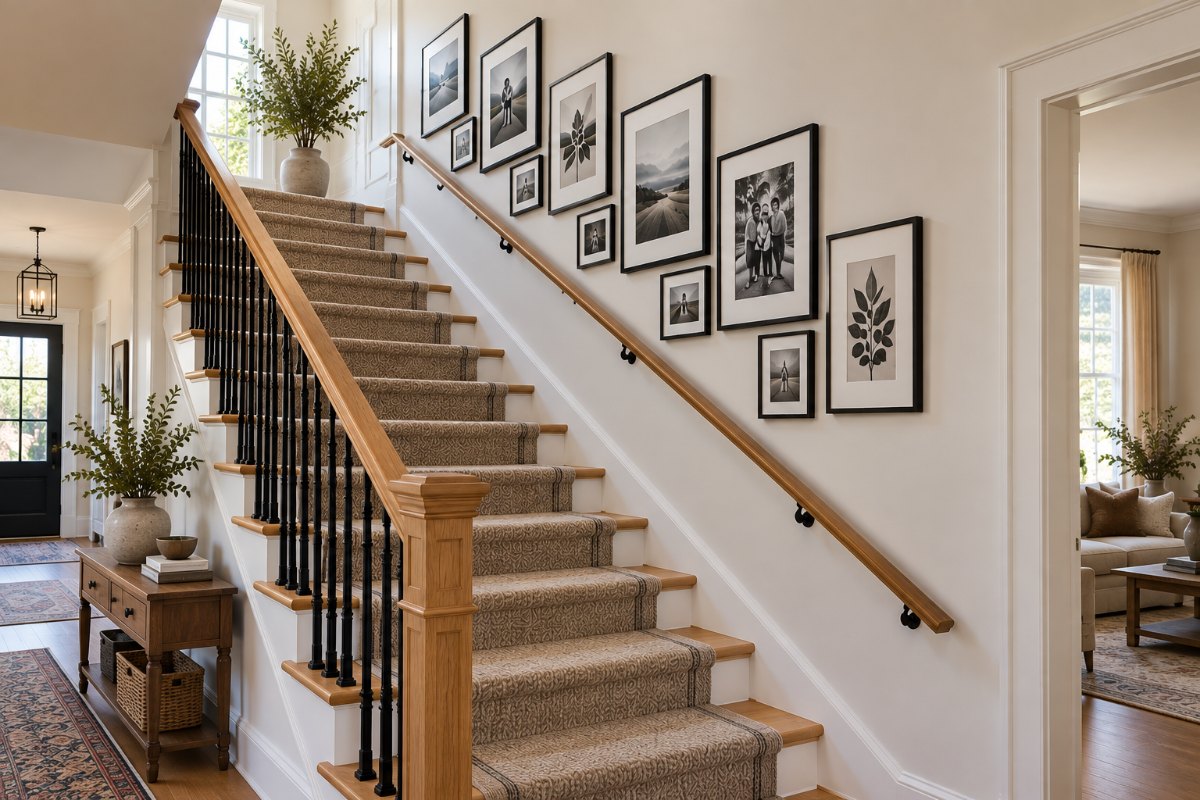
For stairs, where everything is on a slope, see stairway gallery wall ideas.
Mistakes to avoid
- Frames of every color and style. Pick one or two.
- Uneven gaps. Measure every one.
- Hanging too high. The center of the group should be around eye level.
- Too small for the wall. Aim for about two thirds the width of the furniture below.
- Skipping the plan. Paper templates first.
Photo wall FAQ
How far apart should frames be on a gallery wall?
About 2 inches between each frame. Keep it exactly the same across the whole wall.
How high should a photo wall be above a sofa?
The bottom edge of the lowest frames should sit 8 to 10 inches above the back of the sofa.
How do you make a photo wall look cohesive?
Use matching frames and mats, print the photos in black and white, keep the gaps even and give the whole group a clear outer shape.
How do you plan a gallery wall layout?
Cut paper templates for each frame, tape them to the wall, adjust until it looks right, and drill through the templates.
Related reading
- Stairway gallery wall ideas
- How to style IKEA furniture so it looks collected
- Book shelf styling
- Corner book shelf ideas
Pick your frames, print in black and white, and plan it on paper. The wall will take care of itself.